We understand that setting up a blog on AWS web hosting can be daunting, especially if you are new to the world of cloud computing. But don’t worry, we are here to guide you through the process step-by-step.
First, let’s discuss what AWS web hosting is and why you should consider using it for your blog. AWS, or Amazon Web Services, is a cloud computing platform that offers a wide range of services, including web hosting. With AWS, you can host your blog on highly scalable and secure servers that can handle large amounts of traffic.
Now, let’s dive into the steps you need to follow to set up your blog on AWS web hosting.
Step 1: Create an AWS account
The first step is to create an AWS account if you don’t already have one. Go to the AWS website and click on the “Create an AWS Account” button. Follow the prompts to set up your account.
Step 2: Launch an EC2 instance
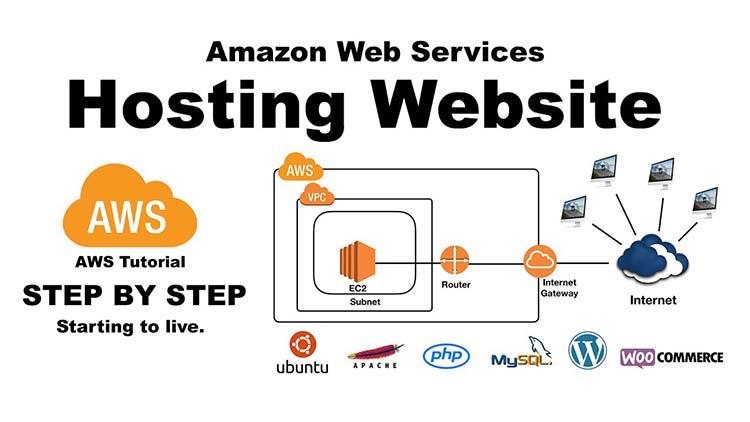
The next step is to launch an EC2 instance, which is essentially a virtual server in the cloud. Go to the AWS Management Console and navigate to the EC2 dashboard. Click on the “Launch Instance” button and select the Amazon Machine Image (AMI) that you want to use for your blog. We recommend using the Amazon Linux 2 AMI as it is optimized for the AWS platform.
Step 3: Configure your instance
Once you have launched your EC2 instance, you need to configure it to run your blog. This involves installing a web server (such as Apache or Nginx), PHP (if your blog is built on PHP), and a database (such as MySQL or PostgreSQL). You can either do this manually or use a pre-configured AMI that already has these components installed.
Step 4: Point your domain to your instance
After you have configured your instance, you need to point your domain to it. Go to your domain registrar (such as GoDaddy or Namecheap) and update your DNS settings to point to the IP address of your EC2 instance. You may also need to set up a subdomain if you want to use a subdomain for your blog.
Step 5: Secure your instance
Security is crucial when hosting your blog on AWS. Make sure to follow AWS security best practices, such as creating a security group that only allows traffic from specific IP addresses, enabling HTTPS, and using key pairs for secure SSH access.
Step 6: Optimize your blog for performance
Finally, you need to optimize your blog for performance. This involves using caching plugins, optimizing images, and minimizing HTTP requests. You can also use AWS services such as Amazon CloudFront and Amazon Route 53 to improve the speed and reliability of your blog.
In conclusion, setting up your blog on AWS web hosting may seem intimidating at first, but by following these steps, you can easily get your blog up and running on a highly scalable and secure platform. Remember to follow AWS security best practices and optimize your blog for performance to ensure a smooth and successful blogging experience.
By following the above steps, you can set up your blog on AWS web hosting and enjoy the benefits of a highly scalable and secure platform. Happy blogging!